
Image credits goes to Josh Ge’s post “How to Make a Roguelike”.
Introduction
Some time ago I got to know about the 7DRL and I wanted to take part on it. As I was browsing r/roguelikedev I got to see that there was a tutorial in C++ using libtcod - I thought with myself that this method could be a good starting point, but the set up seemed outdated for Windows, althought functional and good enough for Linux and OS X. Using Visual Studio can solve a lot of the incoveniences of having to set up the way you have to on Linux/OS X - I have to say, not needing to set up makefiles or cmake is nice. If you are one those (like me) that enjoys knowing exactly what is going on, compiling on command line is interesting, but it eventually gets old, and you don’t want to deal with that when using Windows.
With all that being said, a lot of the game industry runs on Windows and Visual Studio, and on C++! So might as well start those practices already. If your intent is just to make a roguelike, there’s not really a huge reason to go with C++ - But if you just want to learn the language, or want to eventually be in the AAA Game Industry, or know that you will need the extra memory management and performance, then you should try C++.
Setting it Up
This will be just a simple step-by-step process.
- First of all, you have to have Visual Studio 2019 installed in your computer, duh.
- After that, you have to download libtcod on their release page - As the day of this writing, 1.15.1 is the most recent stable version - you have to download the “msvc” version of the release, which stands for Microsoft Visual C++, and then you have x86 (32 bits) and x86_64 (64 bits) - I’m going with the 64 bits version, the entire filename is “libtcod-1.15.1-x86_64-msvc.zip”.
- Next step is simply creating a new Empty Project with Visual Studio 2019. After that we can get our feets wet!
- First thing, set your debug environment to x64 (or x86 if that’s the version you downloaded).

- You will need to add the include files from libtcod into your project, the way I do this usually is by having the entire libtcod folder in my project. To do that, I like creating a “lib” folder and then simply putting the entire “libtcod-1.15.1-x86_640-msvc” folder inside of it.
- You have to copy some files from the libtcod folder to the root of your project (the root is the folder where the “.vcxproj” is located at), those files are on the root folder for libtcode, these are the files: “libtcod.dll”, “libtcod.exp”, “libtcod.lib”, “libtcod.pdb”, “SDL2.dll”, “terminal.png”.
- Now we have to tell Visual Studio to look at the directories we need and to search for the libraries we need!
- Right-click on your project solution and click on “Properties”.

- Search for the option “VC++ Directories” > “Include Directories” and add the “include” folder inside libtcod.
- Search for “Linker” > “Input” > “Additional Dependencies” and add “libtcod.lib” to it.
That’s all you need to do! After doing all that, here is a simple sanity test code to see if it works!
#include "libtcod.hpp"

int main() {
    TCODConsole::initRoot(80, 50, "libtcod C++ tutorial", false);
    while (!TCODConsole::isWindowClosed()) {
        TCOD_key_t key;
        TCODSystem::checkForEvent(TCOD_EVENT_KEY_PRESS, &key, NULL);
        TCODConsole::root->clear();
        TCODConsole::root->putChar(40, 25, '@');
        TCODConsole::flush();
    }
    return 0;
}
This should be result:
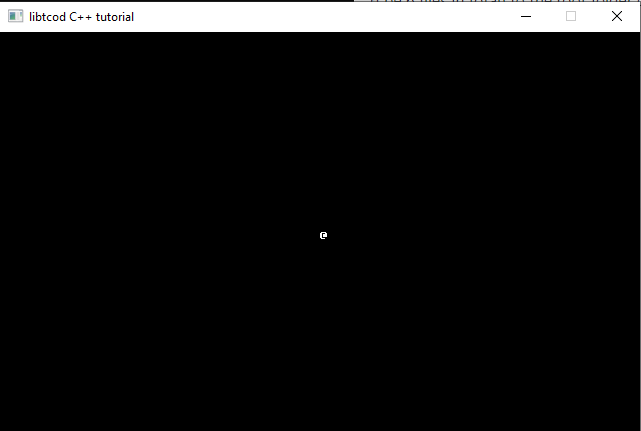
Well, that’s it for the post, I just wanted to show the way I go about setting up libtcod, I hope this help someone in some way so you can start creating your own roguelikes in C++!
If you are feeling venturous enough, you can reach me on Twitter or check my website!
